Tutorial Acetrace Golf and Disc Golf
Table of Contents
Introduction
Ace Trace is a powerful yet simple tool to trace trajectories on your mobile device and create video highlights like in professional tournament coverage of your favorite sport.
You can trace any kind of object; however, the app is optimized mostly for two main activities - golf and disc golf.
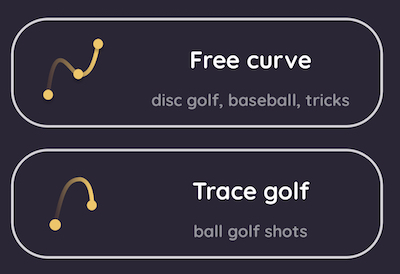
There are two main modes in the app. The first one is Free Curve - it is primarily used for disc golf shots, although it can be used for every kind of trajectory - you can trace baseball or even your dog.
The second mode is Trace Golf, and it should only be used for ball golf shots.
Free Curve
Let’s start with the Free Curve mode. The most common use case for it is to track a disc in a disc golf video.
This mode can be used for variety of cases from tracking your putt in ball golf, tracing a ball flight in baseball or even tracking your significant other falling from a tree.
The flexibility of Free Curve allows you to track any kind of trajectory, but it also means that you have to do some work to get the best results.
Importing a video
When you tap on the Free Curve button, you will be presented with a screen where you can select a video to work with. It takes a few seconds to load a video, and for the best results we highly recommend to only use short videos from 10 to 30 seconds long. Anything longer will take a long time to process - Ace Trace analyzes camera movement and zoom-in/zoom-out in the video, which takes significant computational time. If you still prefer to work with longer videos, you can disable stabilization in the preferences, which will speed up the processing time; however, the camera movement won’t be tracked, so this option should only be chosen for static shots filmed from a tripod.
Manual tracing
Once the video is loaded, you will see a frame from the video and a timeline at the bottom.
1. Start your trajectory
You can move the timeline to select the frame you want to work with.
Using the timeline select a first frame where your trajectory begins, for example, the frame where you release the disc.
Now move the cursor to the place where the object is located. It will immediately add a key point to the timeline - you will see a small yellow oval on top of it.
2. Add another point
Let’s scroll the timeline a few frames forward and move the cursor to the place where the object is located again. You will see another key point added to the timeline. You will also see a line appearing on the screen - it simply connects the two key points for now.
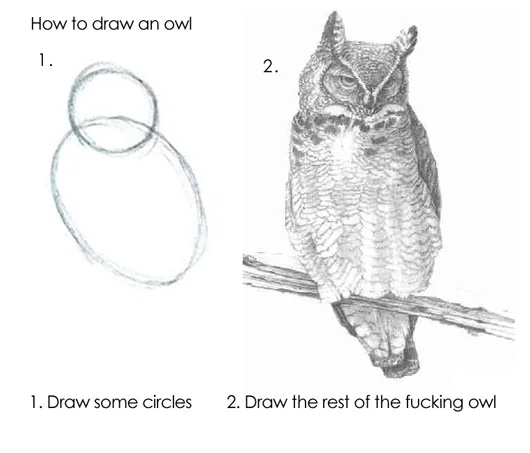
3. Complete the rest of the trajectory - draw the rest of the owl
Now if we repeat this process for a few more frames, we will get a trajectory that connects all the key points together into a smooth curve.
If we scroll our video back and forth, we will see that the curve is interpolated between the key points, and sometimes it might not be perfect.
We can add more points when needed to make the curve more accurate.
4. Preview the result
Now let’s tap the Preview button to see the result. It will take a few seconds to render the video.
You can save it to your camera roll by tapping the Save button.
Trace Golf
Let’s talk about ball golf drives!
Importing a video
The same as for the Free Curve mode, you will be presented with a screen where you can select a video to work with. It takes a few seconds to load a video, and for the best results we highly recommend to only use short videos from 10 to 30 seconds long. Ace Trace analyzes camera movements, and it might take significant time. If you still prefer to work with longer videos, you can disable stabilization in the preferences; however, the camera movement won’t be tracked, so this option should only be chosen for static shots filmed from a tripod.
After the video has been loaded, you will see a frame from the video and a timeline at the bottom.
Automatic tracking
It works with ball golf drive videos filmed with the camera behind the ball, and the ball moving away from the camera.
Make sure the ball is fully visible in the video, so our cutting edge ML algorithm can detect it.
1. Start your trajectory
You can move the timeline to select the frame you want to work with.
Using the timeline select a first frame where your trajectory begins, precisely the frame where you hit the ball, or the first frame when it’s in the air.
Now move the cursor to locate the ball in the image. It will start the automatic tracking wizard as soon as you select the ball.
3. Run the automatic tracking
Now you can go ahead and tap that [Start Tracking] button. If the ball is visible in the frame, it will start tracking it automatically.
Wait for the automatic tracking to complete - it’s just a few seconds.
Sometimes the ball goes away very far, and it’s not visible in the frame anymore. In this case, the Ace Trace algorithm will predict the ball trajectory by the initial positions and speed.
This sophisticated process solves the physics equations to predict the trajectory based on the physical forces applied to the golf ball during the flight.
4. Adjust the flight duration
While Ace Trace roughly predicts how long the ball will fly, it’s not always accurate. You should adjust the flight duration to match the actual flight time by resizing the blue bar in the timeline.
5. Adjust the landing point
You should move the cursor in the image to locate the landing point of the ball. The trajectory will be adjusted accordingly.
6. Preview the result
Now let’s tap the Preview button to see the result. It will take a few seconds to render the video.
You can save it to your camera roll by tapping the Save button.
Manual tracking
If for some reasons the automatic tracking doesn’t produce the best results, you can always use the manual tracking mode.
To switch to the manual mode you can tap ![]() icon in the toolbar.
icon in the toolbar.
- Scroll the timeline to the beginning of the flight, try to be precise
- Select the ball with the cursor
- Adjust the landing point by moving the cursor
- Reshape the curve by moving the control points
- Change the flight duration by moving the marker in the timeline
- Adjust the ball speed by using the acceleration tool. Tap the
 icon in the toolbar to activate it.
 - Tap [Preview] button to see the result
- You can save your video by tapping the [Save] icon on the preview screen
Line settings
You can change the line color, width and other parameters in the settings.
Distance counter
Let’s add distance label to our shot. It will display on top of the line and move with the flying object. Tap on the [Ruler] icon in the toolbar to open the distance editor dialog.
Color segments
It’s possible to customize the color of a part of the line. To do so, you can use the line coloring tool in the toolbar, which enables Color Editing.
Watch this video for more details: